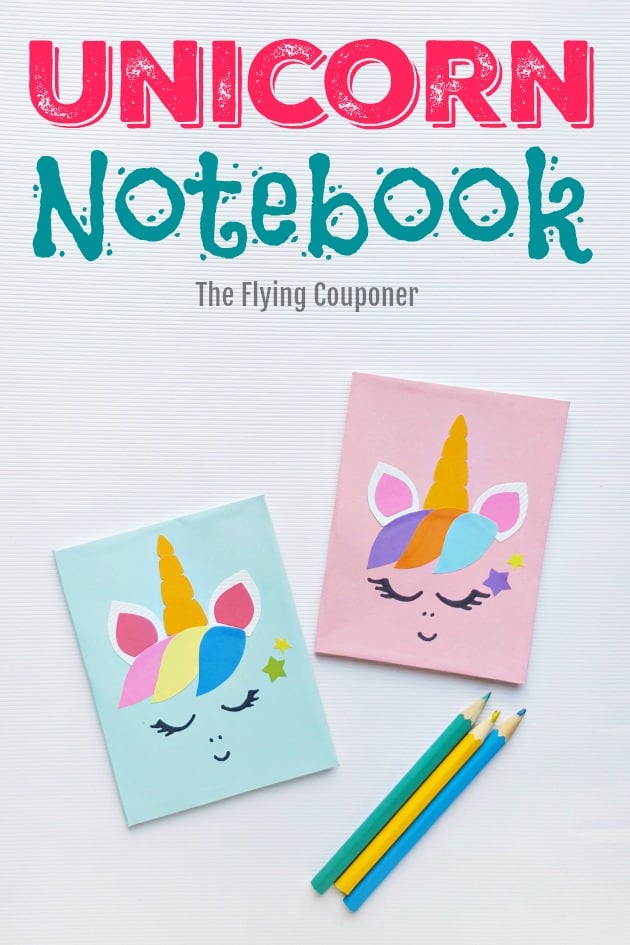
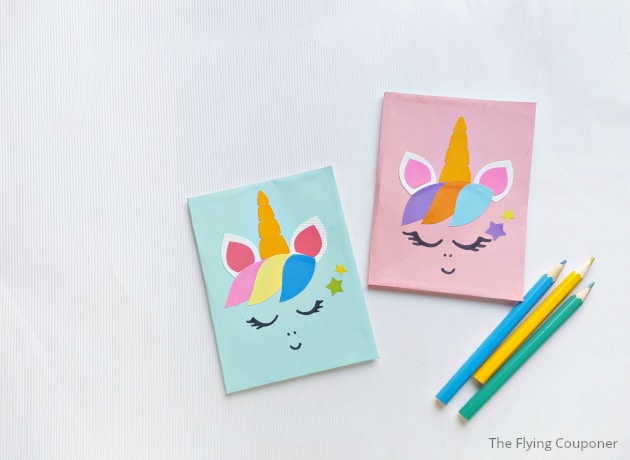
I have been fascinated with unicorns ever since I can remember. In fact, I still have a stuffed unicorn that I received when I was 10 year old! They are so beautiful and colorful. It’s not surprising that so many of us love unicorns. If you adore unicorns as much as I do, you will love making this fun Paper Craft- Unicorn Notebook.
This unicorn notebook is so magical and really easy to make. Don’t wait anymore, make one (or two) today!
See also
Check out these 20 Easy & Creative Pineapple Inspired Projects!
You will fall in love with these 20 DIY Glitter Projects!
Paper Craft: Unicorn Notebook
List of Supplies:
- Coloured craft papers
- Stationary papers
- Needle
- Stapling pin
- Black marker pen
- Pencil or pen – for tracing the template
- Scissors
- Craft glue or glue stick
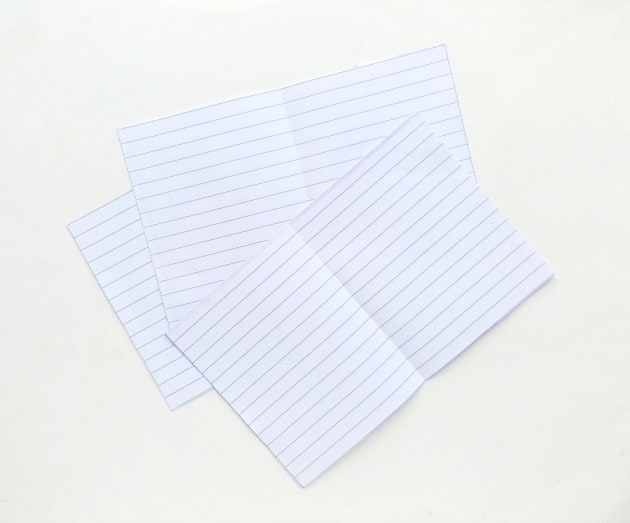
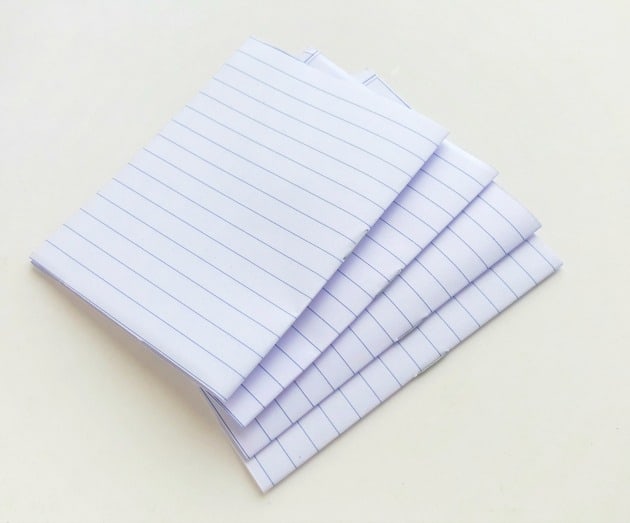
Measure and cut stationary papers into the required size (required length and twice the required width). Group 4 stationary papers together and fold them into half to create a crease along the middle line (fold widthwise).
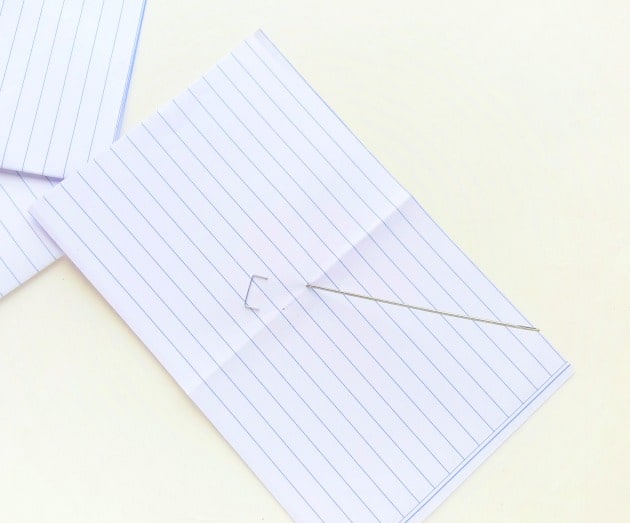
Hold all 4 papers together and use the needle to poke 2 holes on the middle part of the middle crease. The distance between the holes should be same as the length of the stapling pin.
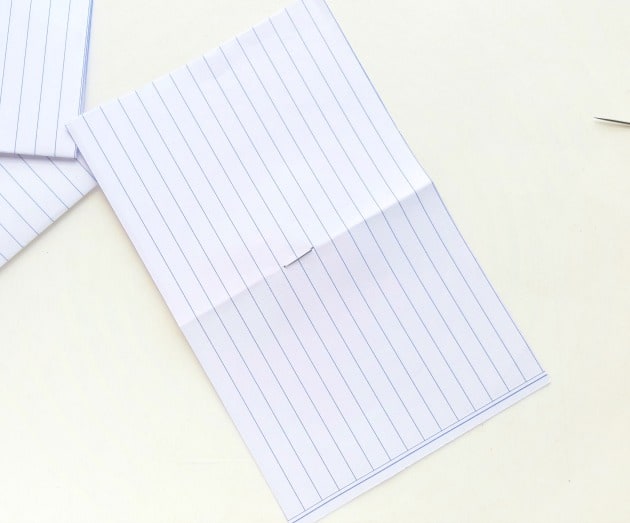
After poking both holes take a stapling pin and insert the pins on both sides through the holes.
Turn the pages to the other side and flatten the pins with the papers. Similarly prepare a few more papers.
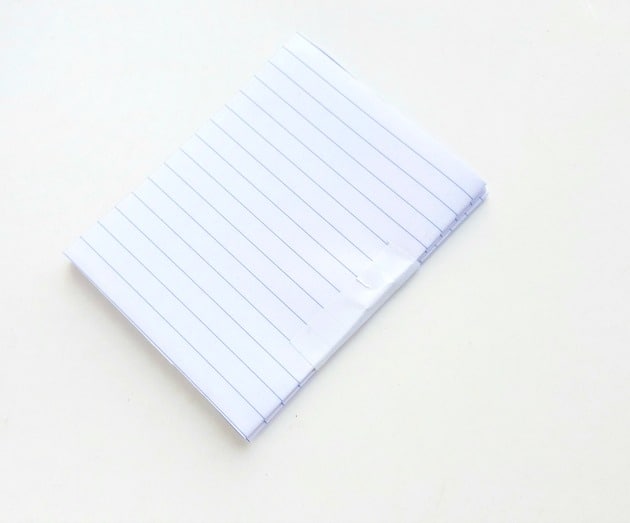
Hold the group of stapled papers together along their closed end; make sure that the end is matched nicely. Cut out a small piece of paper (about 2 x 3 inches will do; but you might need larger piece if the notebook is larger). Apply glue on any one side of the small paper.
Hold the group of stapled papers together on their closed end and stick the glued paper from one end of the group of paper to the other end to secure them together. Measure the thickness of the group of papers.
Unicorn Notebook Cover
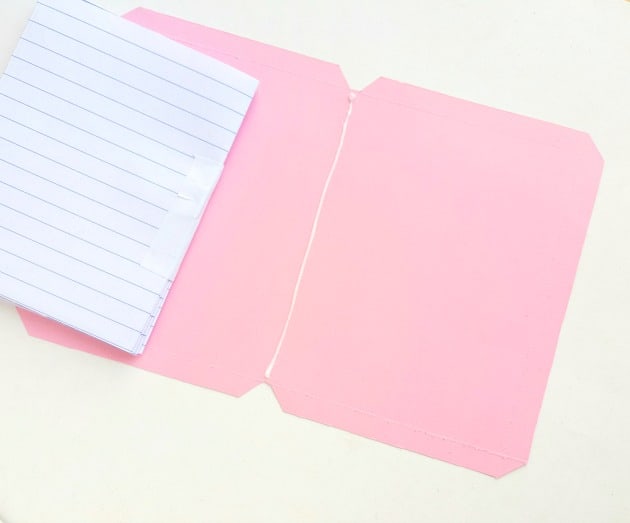
Cut out the notebook cover from cardstock paper. Add 2 cm to the length and 2 cm + (the thickness of the group of papers from previous step) cm to the width of the stationary paper measurement from step one.
Apply glue along the middle part of the cover cut out.
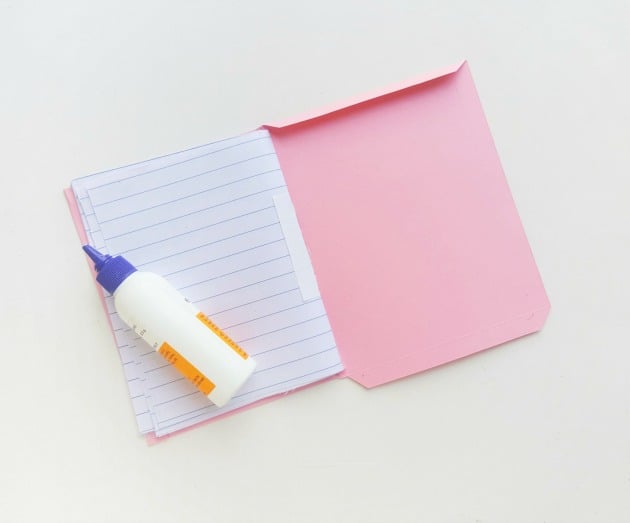
Place the closed end of the stacked papers along the glued area. Press the closed end on the glued part firmly to make sure that it is glued nicely.
Now fold and glue the extra sides of the cover inside.
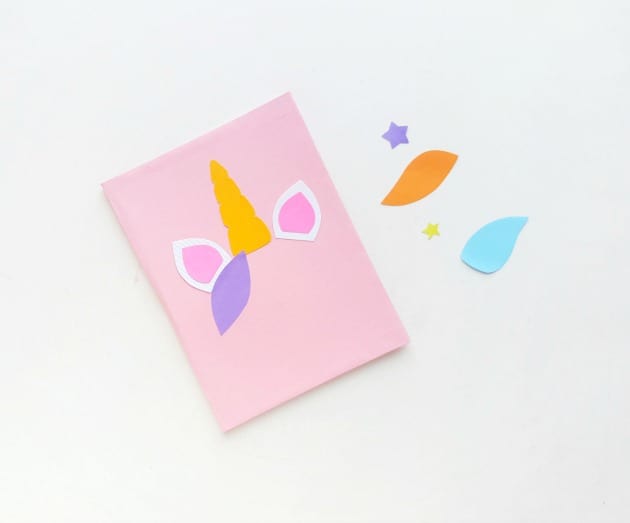
Gather colored craft papers and trace the patterns from the unicorn template on the papers. Cut out the patterns using scissors.
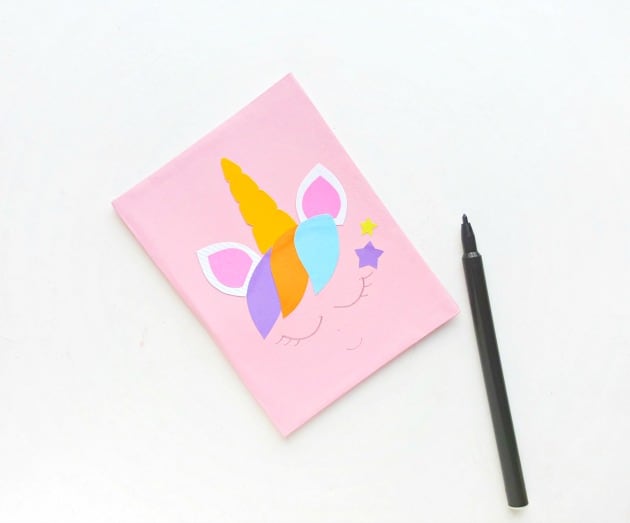
Glue the cut outs on the front side of the cover to create the unicorn pattern.
Once you are done gluing the cut outs use a pencil to draw the eyes, nose and lip of the unicorn.
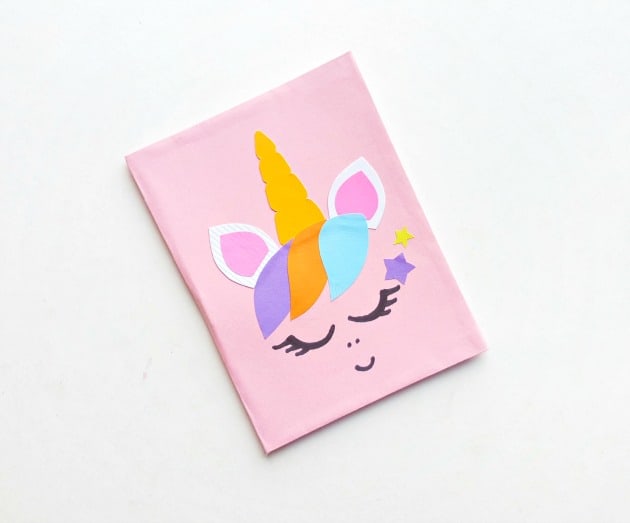
Use a black marker pen to trace along the pencil drawing.
And done!
For more magical crafts don’t miss out on these 20 DIY Glitter Projects!
I love glitter so much that I decided to make a list of my favourite DIY glitter projects created by amazing bloggers around the Internet. Check it out!
Let’s stay in touch on Facebook, Twitter, Pinterest and Instagram for our latest updates.
