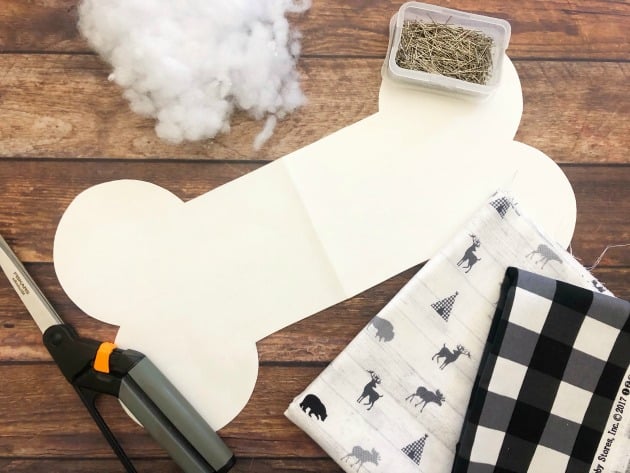
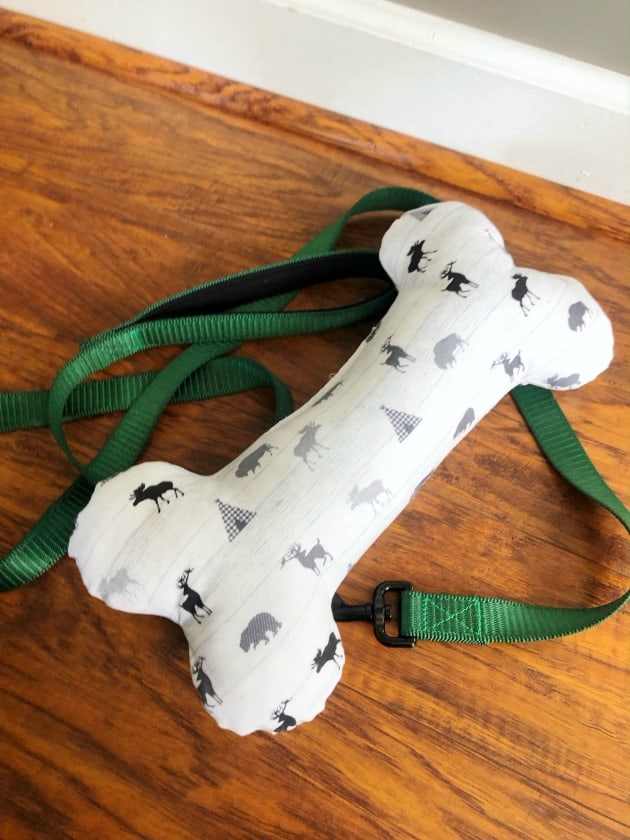
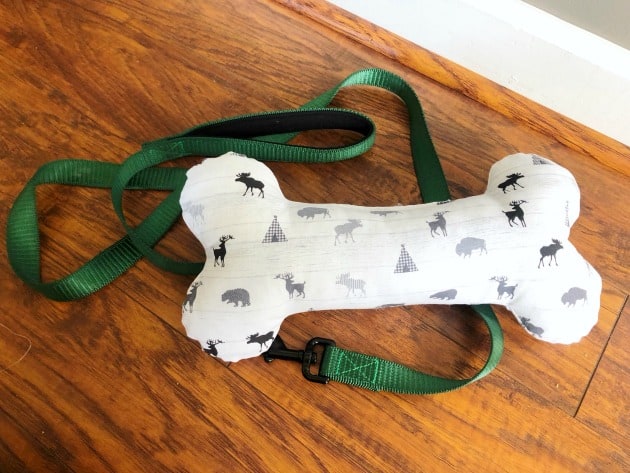
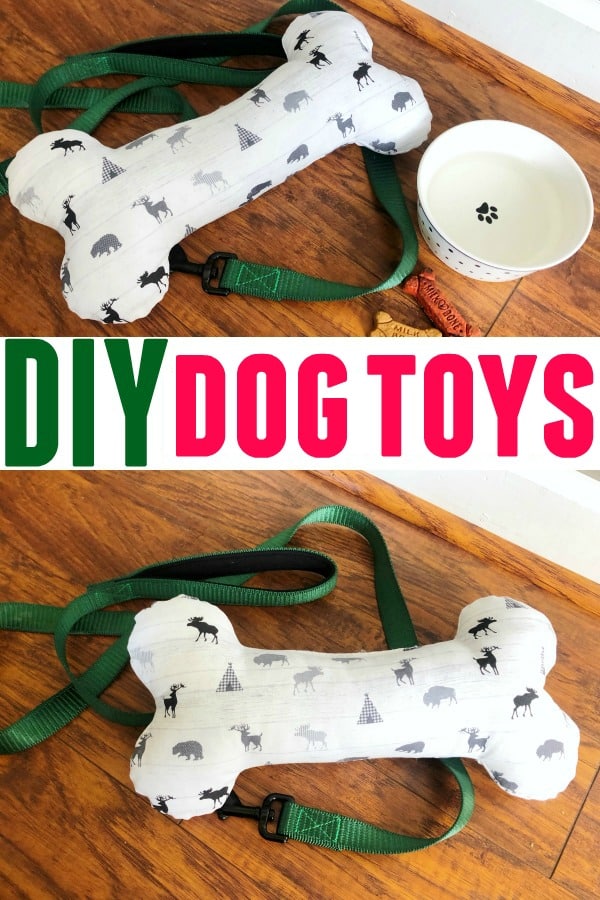
Our latest sewing project is for DIY Dog Toys. It is a simple and fun project that even your kids can help with. My kids really enjoyed stuffing the dog bone. You can also let your kids pick the fabric or use any fabric that you have already at home.
See also
DIY Dog Toys Materials
1/2 yard upholstery fabric
Drawing paper
4” circle lid
Sewing machine
Stuffing
Pins
Ruler
Pencil
Scissors
Thread
How to Make DIY Dog Toys
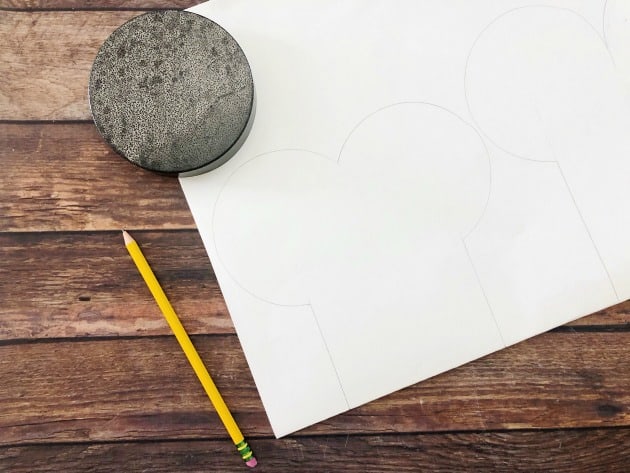
1. Fold a large piece of drawing paper in half, on the folded line draw half a dog bone. With the sides being 3” tall, 5” width between the two lines and trace a 4” circle lid onto the top sides of the bone.
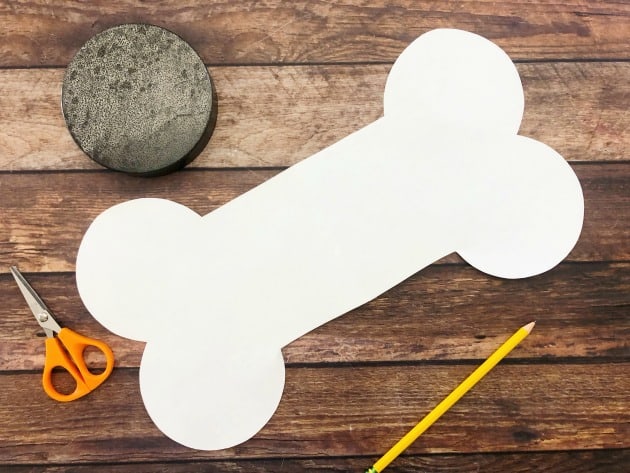
2. Cut out the bone and open it up.
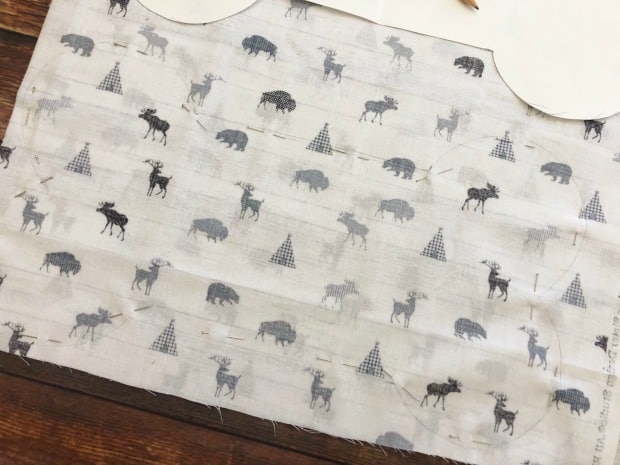
3. Turn your fabric inside out and fold in half. Trace the bone onto one side, pin together along the edges and cut the fabric out.
4. Move the pins to start at the sides and pin into the sides of the fabric.
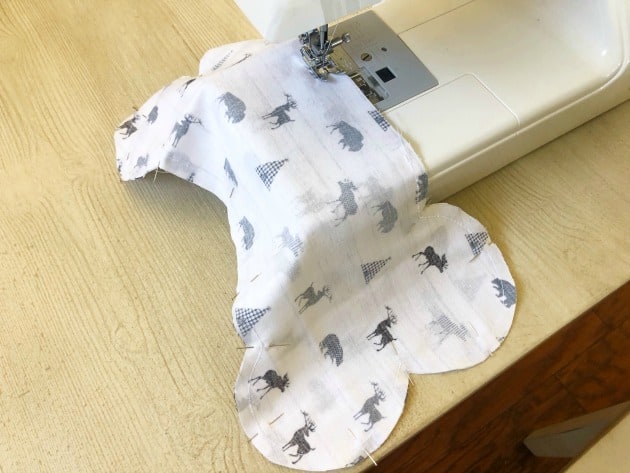
5. Sew along the edges with a 1/2” of seam allowance. It might be a good idea to double-stick the edges if you have a heavy chewer. Leave a 4” opening on one side.
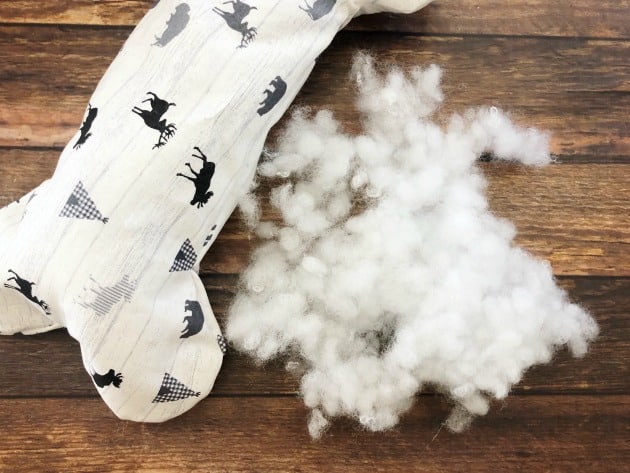
6. Carefully turn the fabric inside out and stuff the bone with stuffing. Making sure the ends of the bone are full.
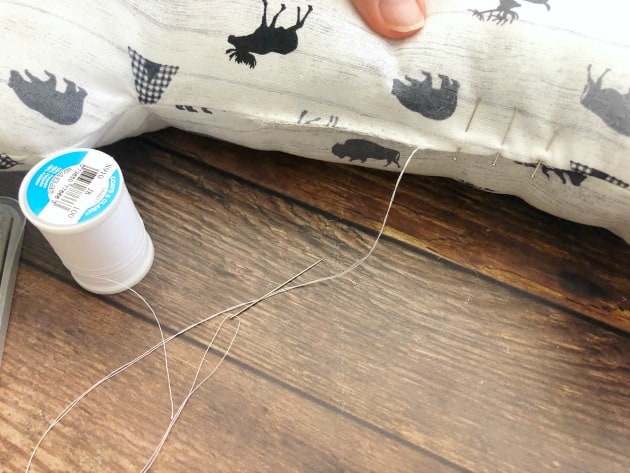
7. Turn the fabric of the 4” opening in, pin together and either sew with your machine or hand sew with a blanket stitch closed.
*If your dogs rip the fabric open, it’s time to discard it.
More Fun DIY Projects
Let’s stay in touch on Facebook, Twitter, Pinterest and Instagram for our latest updates.
We are a participant in the Amazon Services LLC Associates Program, an affiliate advertising program designed to provide a means for us to earn fees by linking to Amazon.com and affiliated sites.
