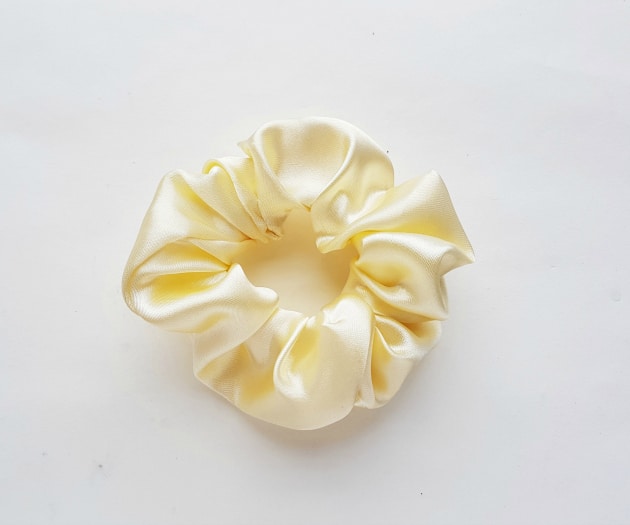
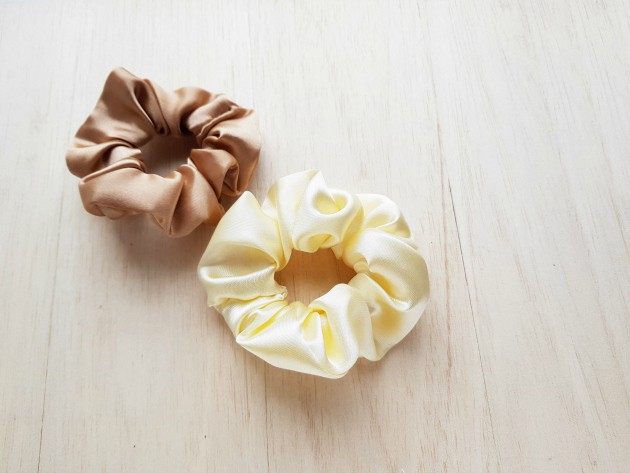
I always wondered how to make a scrunchie. My kids break so many of them that I decided to try to make our own. I was not sure if it was going to be worth our time but it turned out to be a really fun and inexpensive sewing project to do with the kids.
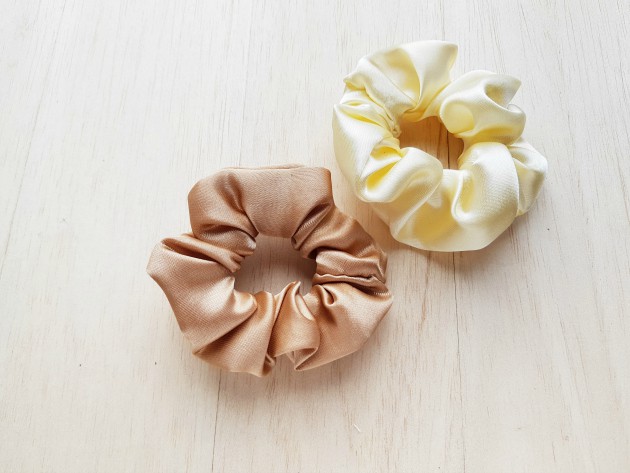
See also
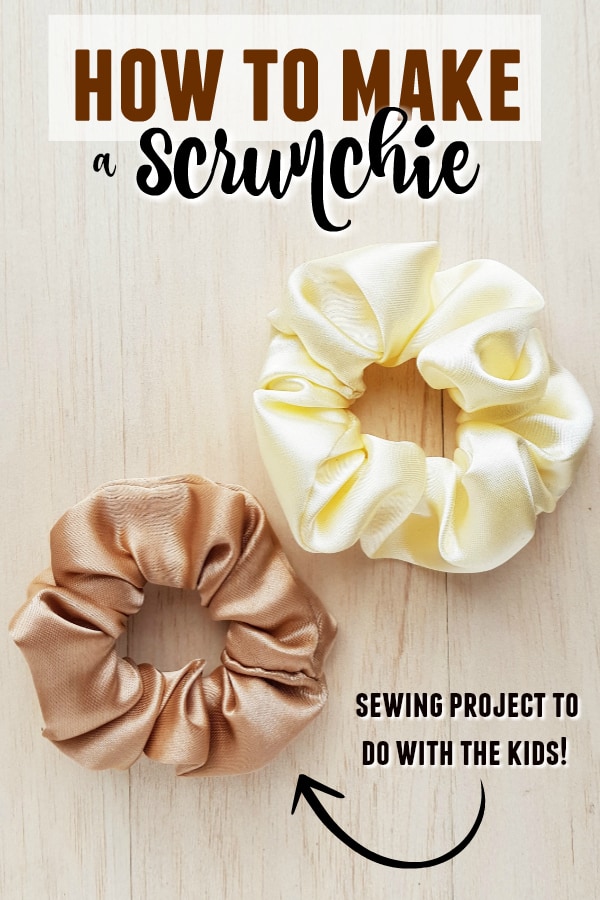
We used satin for our scrunchies, but you can use any fabric that you have.
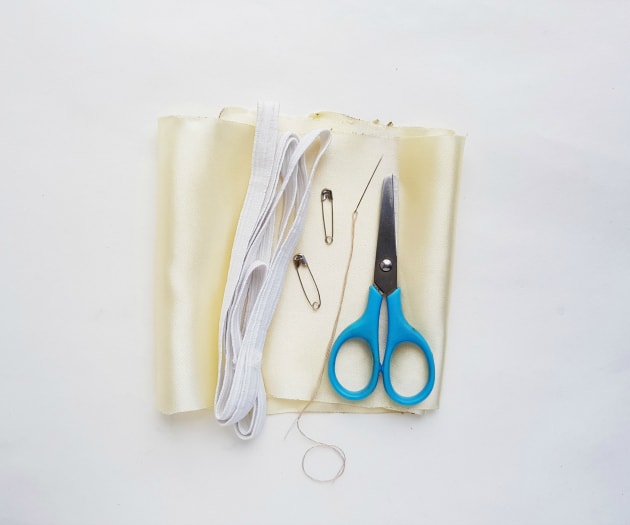
How to Make a Scrunchie- Supplies
- Satin fabric of your choice
- Needle and thread
- Lighter or candle
- Elastic
- Sewing machine (optional)
- Safety pin
- Pencil or fabric chalk or marker
- Scissors
How to Make a Scrunchie- Instructions
Step -1:
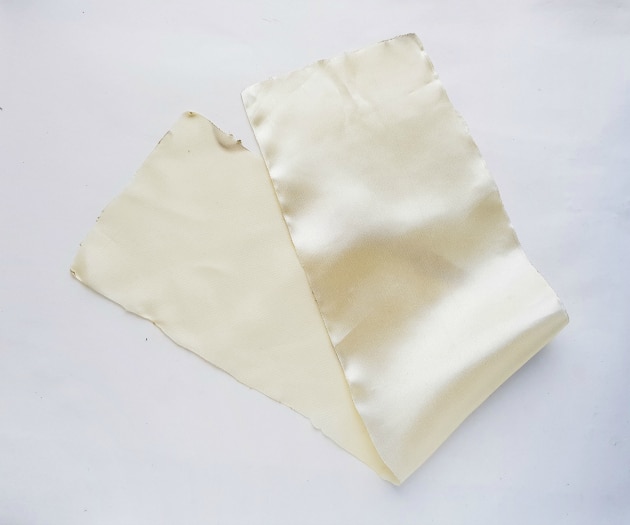
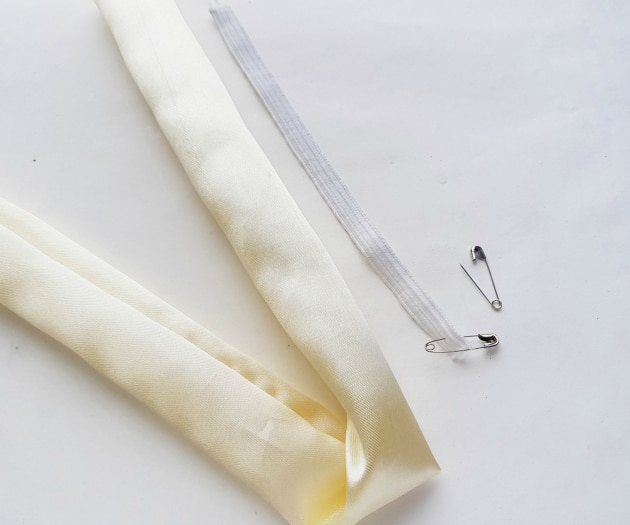
Trace and cut out a 4 inch wide and 18 inch long (or more) piece from the selected satin fabric. Use a lighter or candle to slightly burn the open edges of the satin piece to protect the threads from coming off.
Step -2:
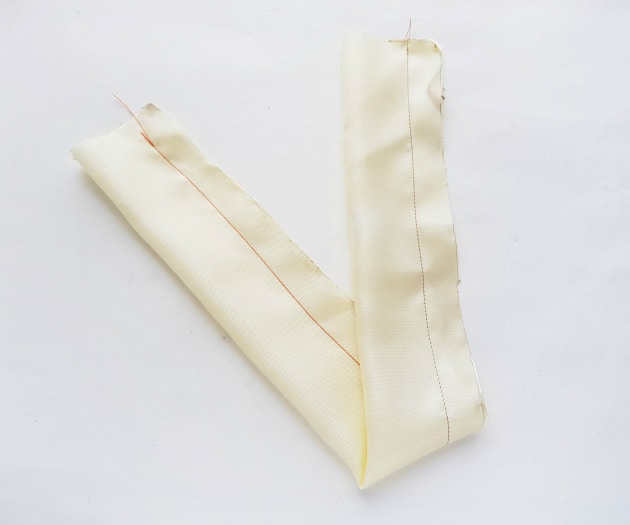
Fold the satin fabric piece into half width-wise, with its wrong side facing out. Sew along the open end of the folded fabric (along the length). Keep the 2 small ends on both sides open.
Step – 3:
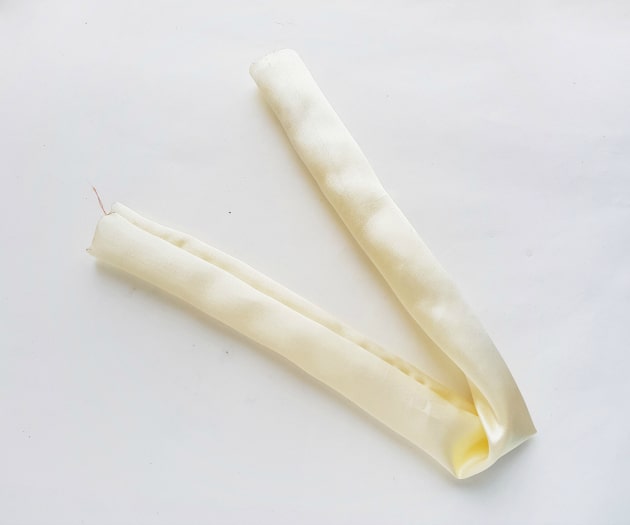
Turn the right side out through any one of the open ends. Iron the sewed satin fabric.
Step – 4:
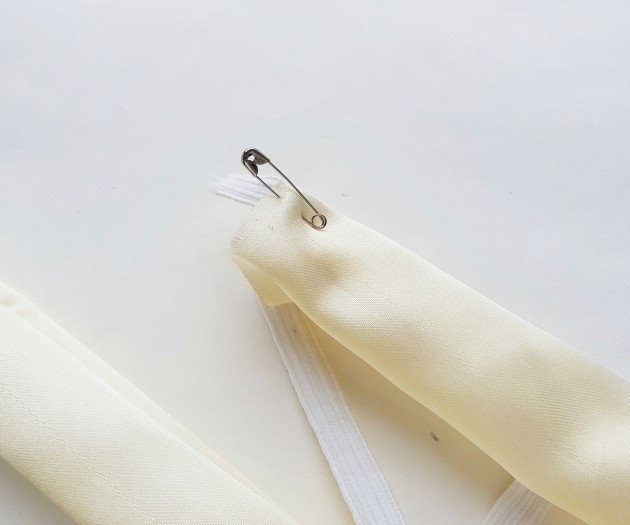
Measure and cut out a piece of elastic long enough to make a comfortable hairband. Take 2 safety pins and attach one safety pin on one end of the elastic.
Step – 5:
Draw the safety pin attached end of the elastic into the sewed fabric through any one of its open ends. Attach the other end of the elastic with the open end of the fabric using another safety pin.
Step – 6:
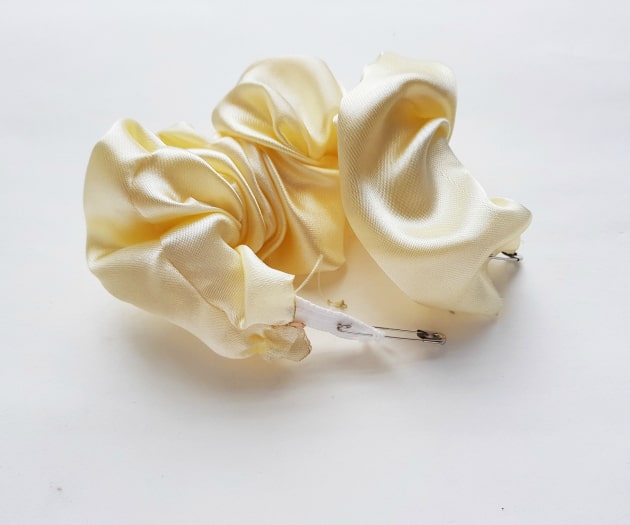
Pull out the free end of the elastic through the other open end of the sewed fabric.
Step – 7:
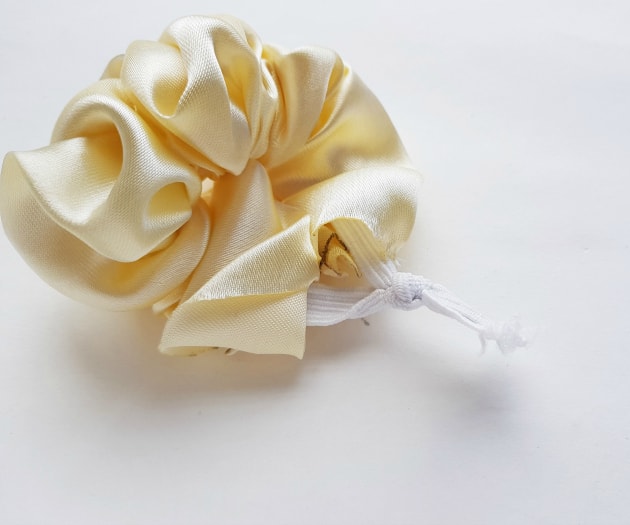
Take off the safety pins from the elastic and tie a knot using both open ends of the elastic.
Step – 8:
Prepare needle and thread. Fold 1 cm of the fabric’s open ends inside and then stitch both ends together. Tie a knot or 2 after you’re done stitching and cut off extra thread.
