We love making new DIY Christmas Ornaments to decorate our Christmas tree every year. It is a tradition that we have been following for almost 10 years.
We made our first Christmas ornaments when the kids were babies. I feel like our Christmas tree is telling the story of our lives, like a timeline of every Christmas we had.
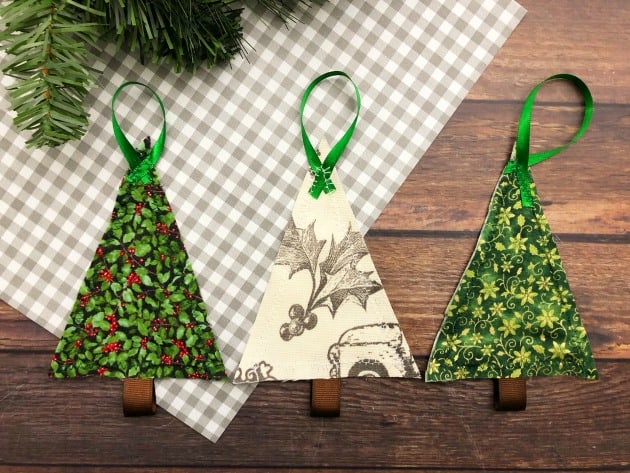
These DIY Christmas Ornaments are one of the easiest sewing projects that we have on the blog. You should give it a try and start your own tradition.
See Also
- We adore this DIY Christmas Wreath and we think you will too!
- Check out these fun Peanut Snowman Christmas Ornaments!
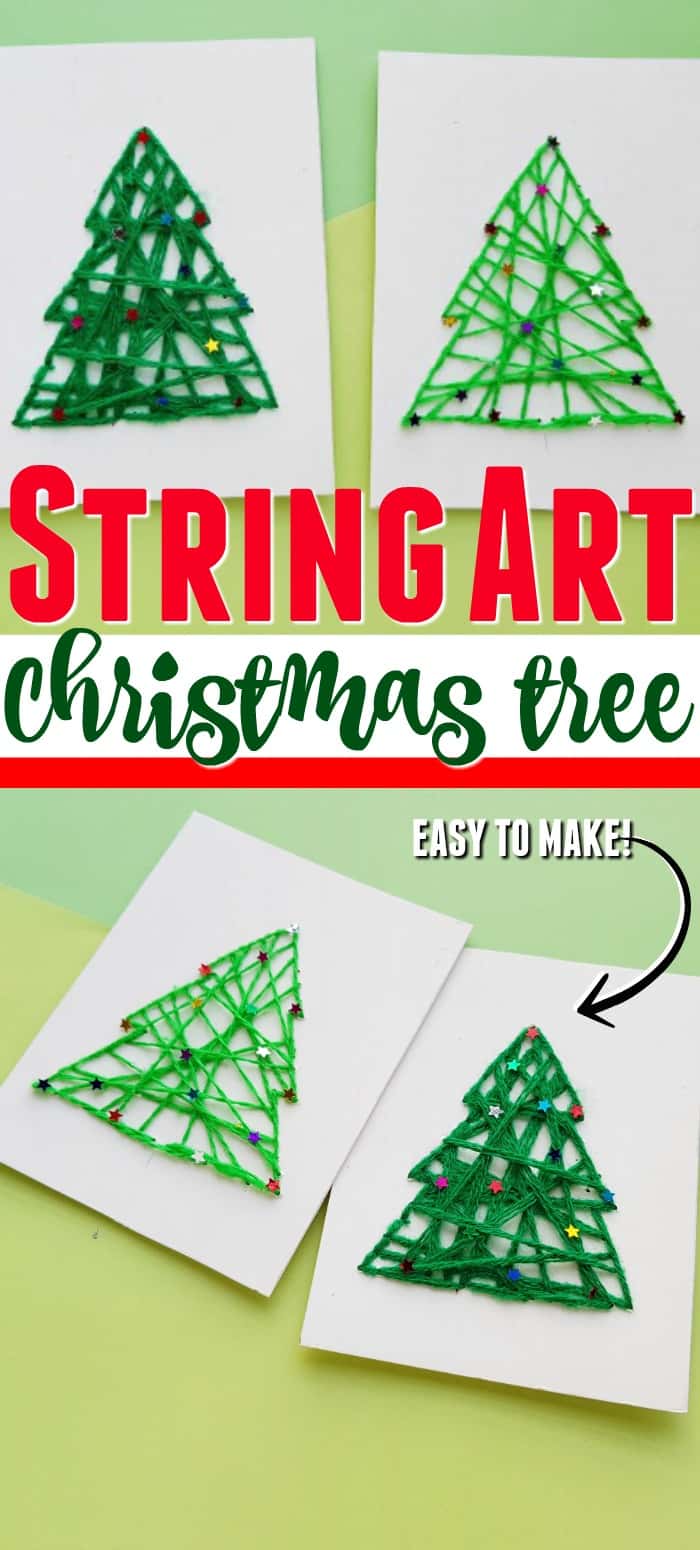
- Get your DIY on with these String Art Christmas Crafts!
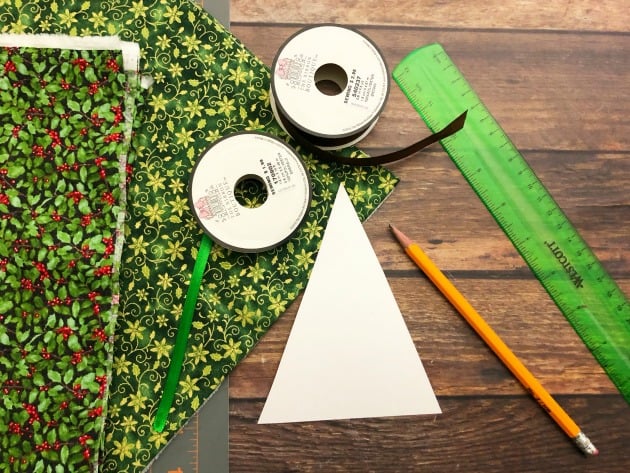
DIY Christmas Ornaments Materials
- Sewing machine
- Cotton Christmas fabric
- 1/4” Green ribbon
- 5/8” brown grosgrain ribbon
- Cutting mat
- Rotary cutter
- Card stock
- Ruler
How to Make DIY Christmas Ornaments
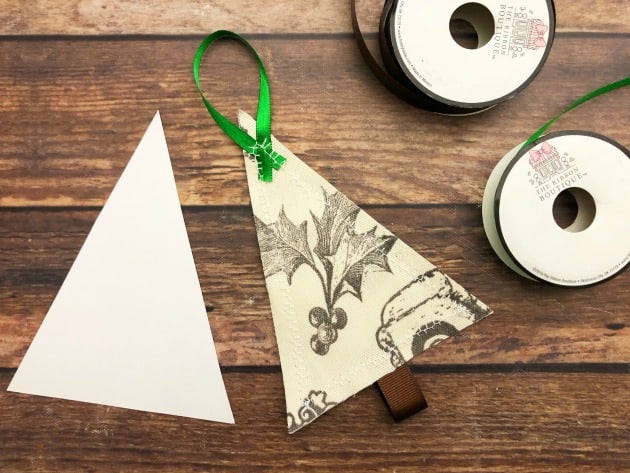
1. Use a ruler to draw a triangle with a 4” bottom and 8” sides onto a piece of card stock for the tree stencil.
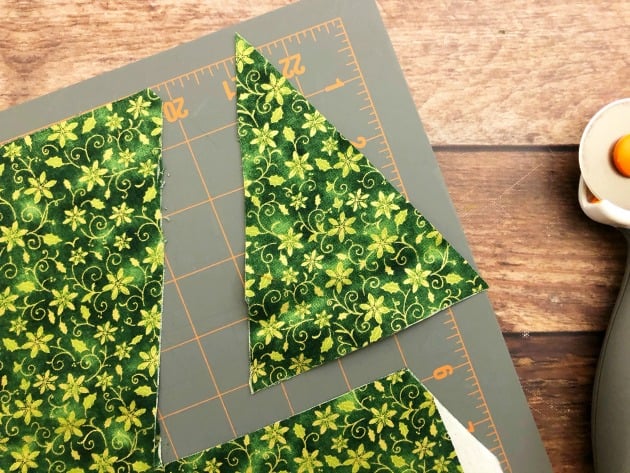
2. Fold the piece of fabric in half on the cutting mat, place the tree stencil on top of the fabric and use the rotary cutter to cut out the tree shape.
3. Place the two pieces of fabric together with print sides facing out.
4. Cut a 4” piece of green ribbon and a 4” piece of brown ribbon.
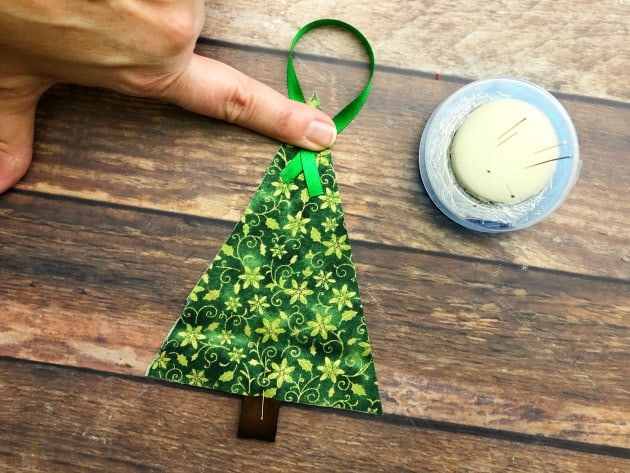
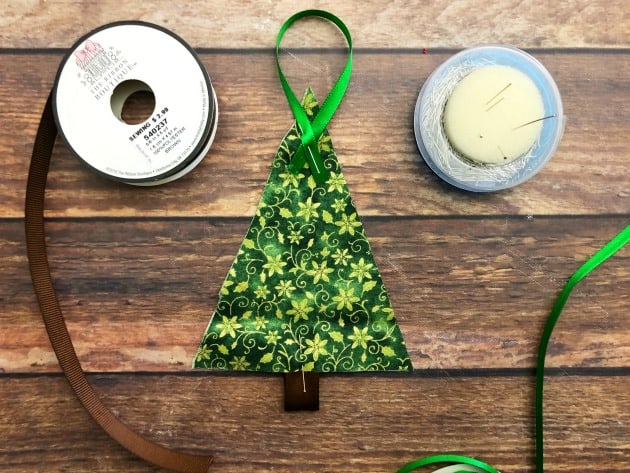
5. Fold the brown ribbon in half and pin in between the two bottom pieces of the fabric.
6. Place the two ends of the green ribbon together and pin to the front top of the two pieces of fabric. Your DIY Christmas Ornaments are almost done!
7. Place the sewing machine to a zigzag stitch and sew along the edges of the triangle tree, making sure to stitch both pieces of ribbon on.
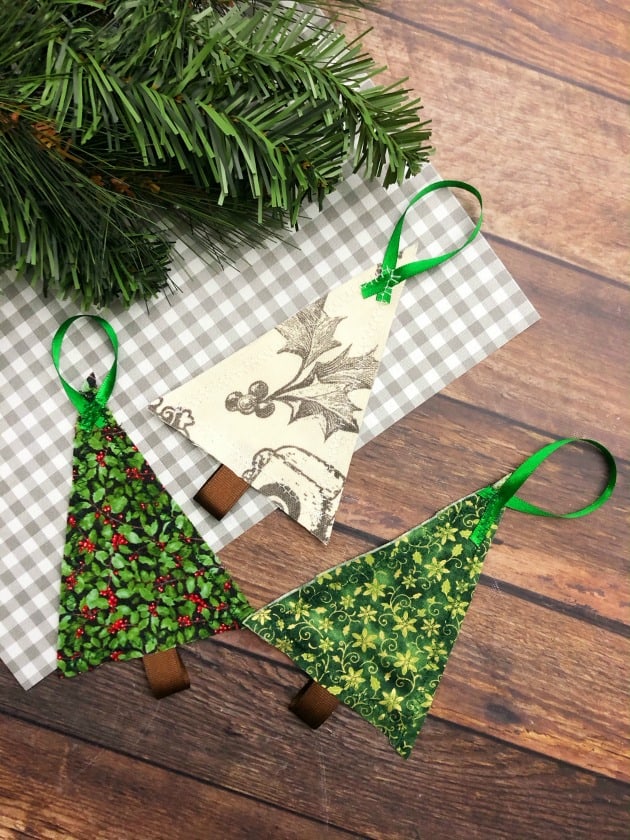
8. Cut any loose threads and they are ready to hang on your Christmas tree.









[…] Check it here […]