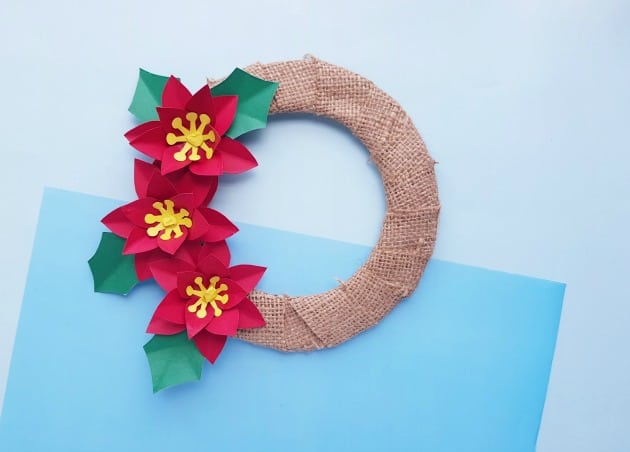
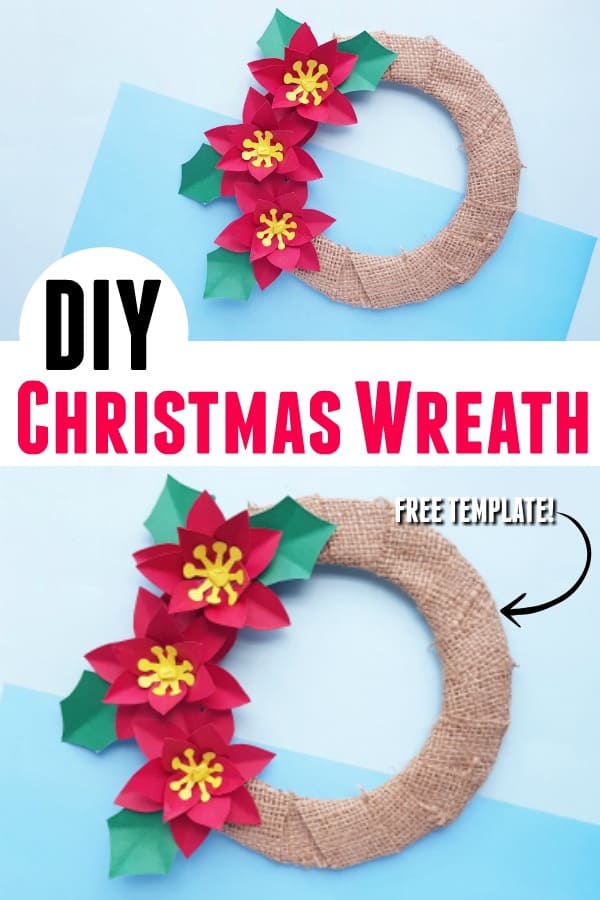
There is nothing like making a DIY Christmas Wreath to get into the holiday spirit. What I love about this Christmas craft is that you can make it as big or as small as you want. All you have to do it to cut out a round wreath base in the size that you need. You could even make mini ones to decorate Christmas gifts and cards!
See Also
- We adore this Paper Craft Unicorn Notebook and we think you will too!
- Get your DIY on with these 20 Fun Handprint Art Activities for Kids
- Check out these String Art Christmas Crafts!
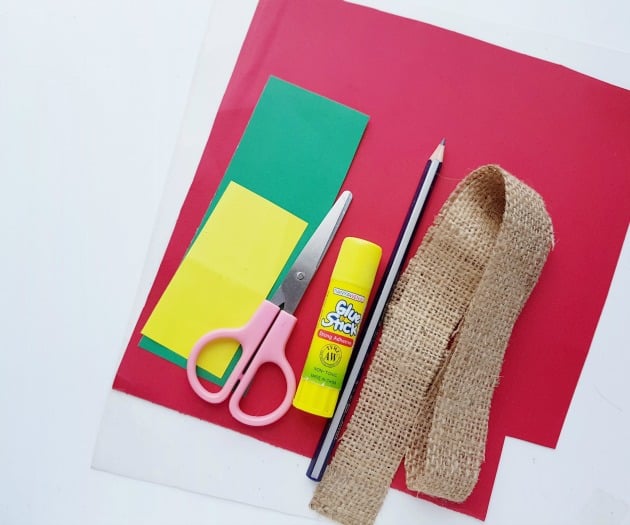
DIY Christmas Wreath Supplies
- Colored cardstock paper
- Pencil
- Scissors
- Craft glue
- Burlap lace
- Poinsettia Flower Template
DIY Christmas Wreath Instructions
Step -1:
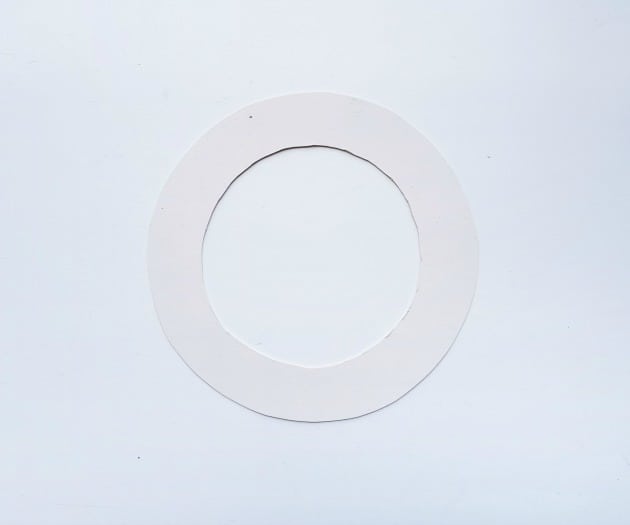
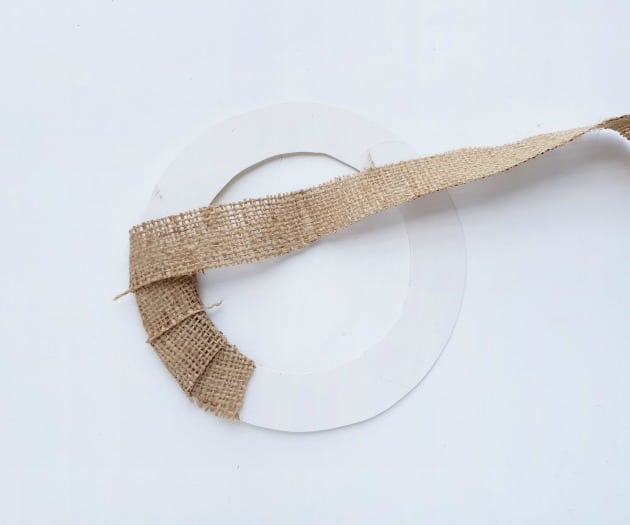
Determine the size of the wreath and cut out a round wreath base from a cardstock paper.
Step -2:
Use brown burlap fabric to wrap and cover the cardstock base. You can use a burlap lace or cut burlap fabric into strips. Apply glue at the start of the burlap wrapping and then wrap the wreath base with the burlap.
Step – 3:
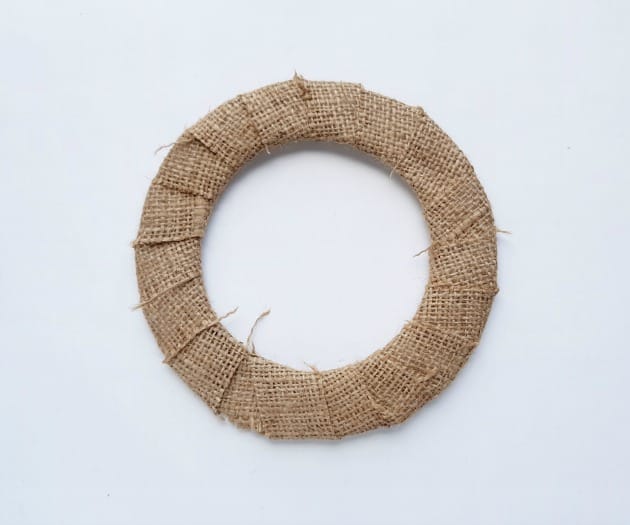
Cover the whole cardstock base with burlap. Keep the open end of the burlap lace on the back side of the wreath and apply glue on the open end of the burlap to secure the wrapping. This DIY Christmas Wreath is starting to look amazing!
Step – 4:
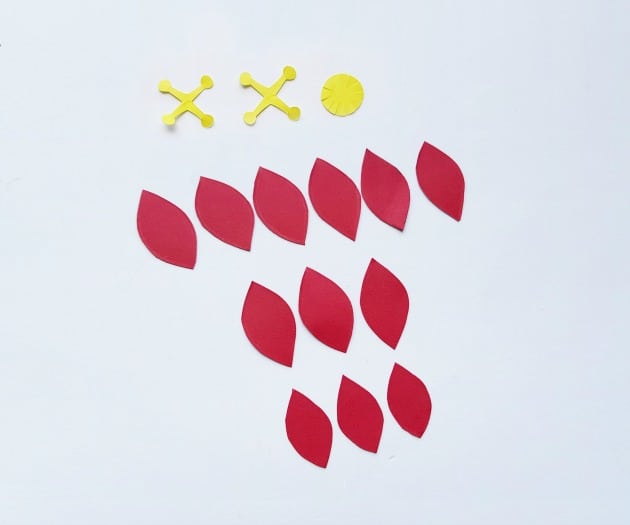
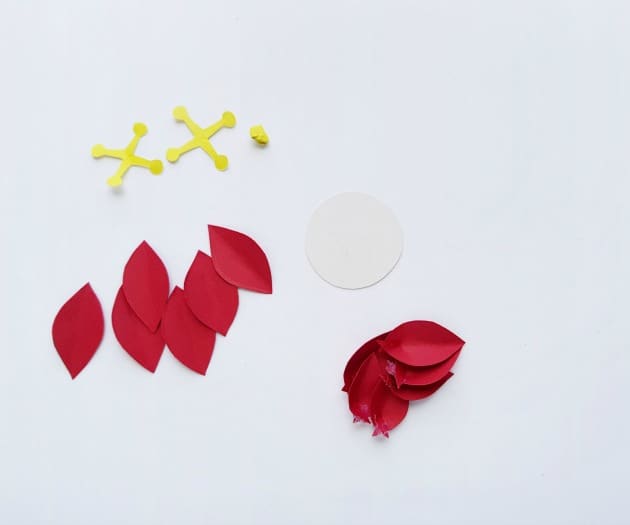
Trace the flower template patterns on the selected cardstock papers and cut them out nicely. For each flower you’ll need 3 patterns for the center (2 cross and 1 round shape), 6 large petals for the outer layer, 3 large petals for the middle layer and 3 small petals for the inner layer.
Step – 5:
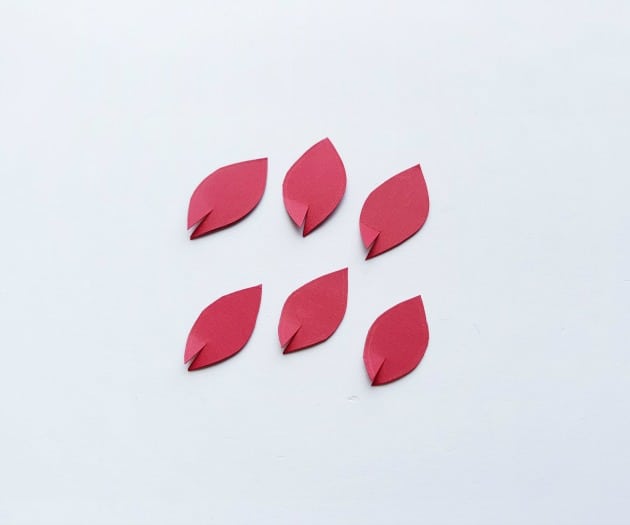
Grab the 3 large petals and the 3 small petals and cut 1cm slit from their tip.
Step – 6:
Overlap both sides of the slit and stick them using craft glue.
Step – 7:
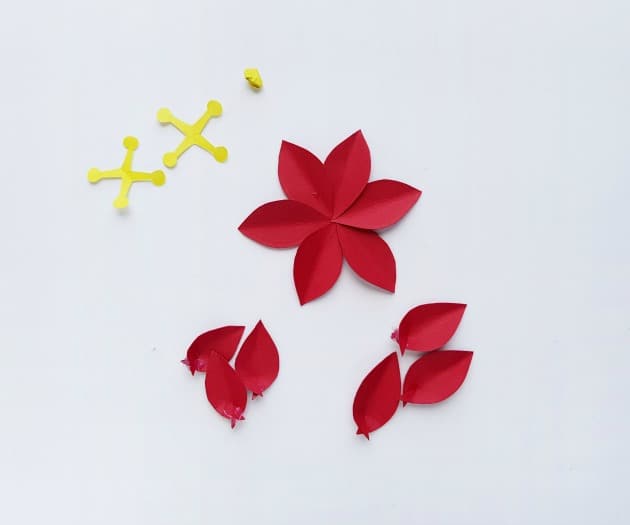
Create crease along the middle of the other 6 large petals. Cut out a round base from cardstock paper for the flower.
Step – 8:
Attach the 6 large petals on the base.
Step – 9:
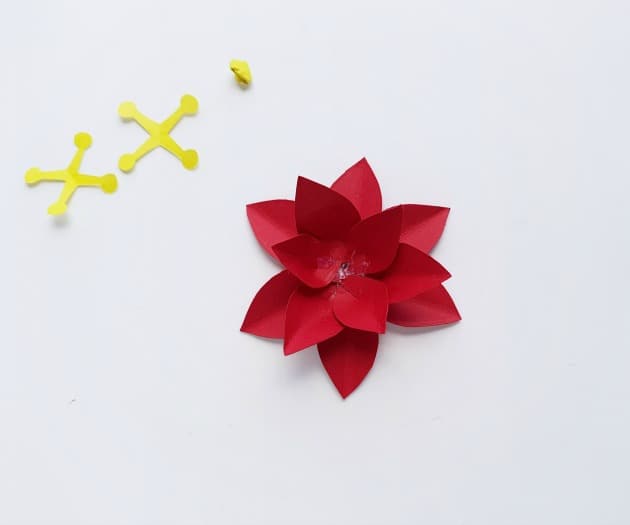
Attach the 3 curved large petals on the base for the next layer. And then attach the 3 small curved petals towards the center of the base.
Step – 10:
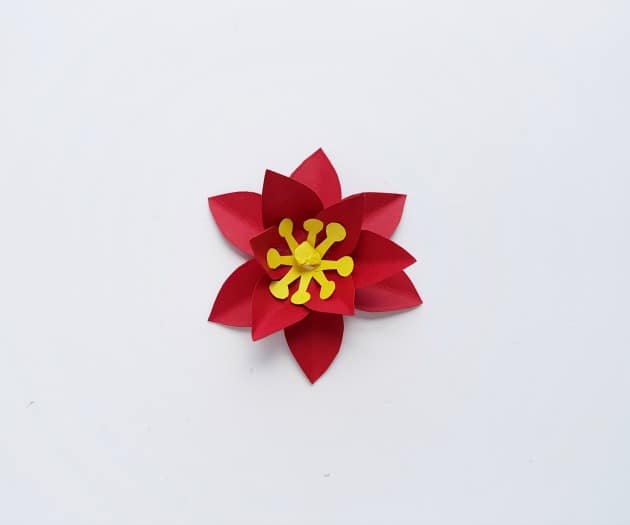
Attach the 2 cross patterns on the center of the poinsettia petals. Crumple the round piece and attach it on the center of the cross patterns to complete the flower craft.
Step – 11:
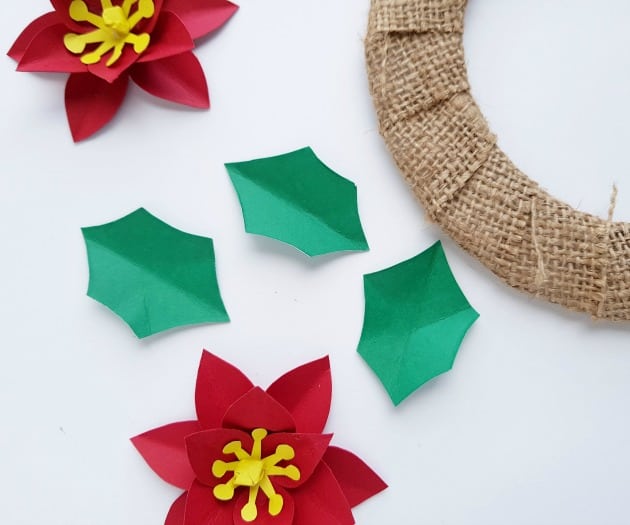
Cut out some leaf patterns from green colored cardstock papers. Similarly create more poinsettia flowers and leaves.
Step – 12:
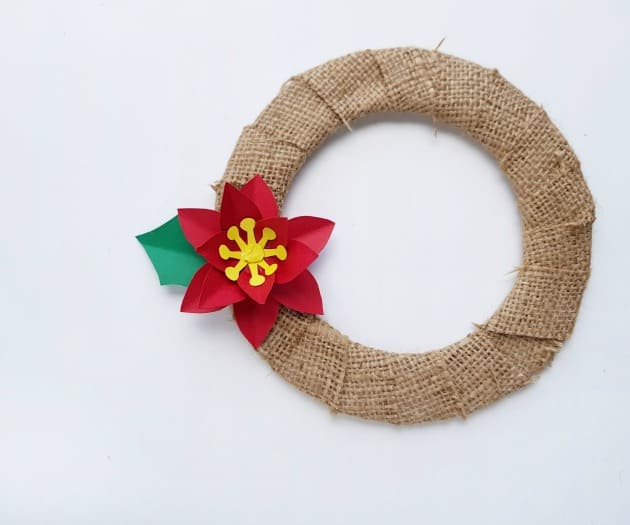
Attach the flowers and leaves on the burlap wrapped wreath base. Your DIY Christmas Wreath is done!
Step – 13:
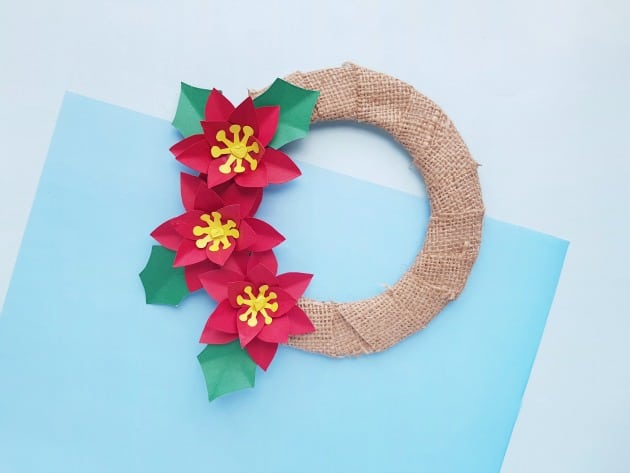
Attach the rest of the flowers and leaves to complete the wreath craft. Voila!







The wreaths are so cute, such a great diy activity